Battery technology has improved since 2015, when I replaced the NiCd cells with NiMH in a cordless drill. The cost of the NiCd has dropped and their capacity increased. But most cordless tools now use lithium batteries. Each brand of tool uses its own proprietary battery pack. But I was able to adapt a new lithium battery pack from a budget brand to fit my old drill.
While the battery packs from different brands look different, these mostly contain the same AA size lithium 3.7 volt cells (with more cells used for higher voltages). These cells are a higher voltage and energy capacity than the NiCd cells used in older tools. Whereas it took 10 NICd cells for a 12 Volt battery, it takes only three small Lithium ones.
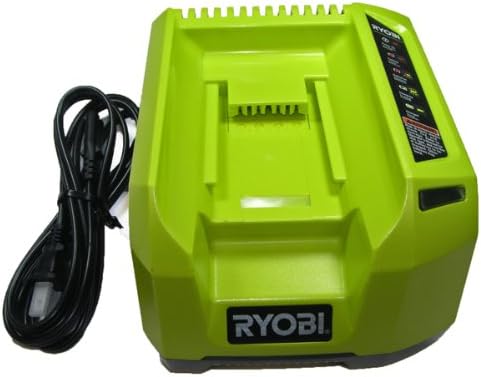
I considered buying lithium cells and building my own battery into the old cordless drill case. As these lithium cells are much smaller, there is plenty of room. However, the lithium cells have an increased risk of fire if mishandled and need special charging to prevent damage. So instead I bought a 12 Volt Lithium battery designed for a budget range of tools with a matching charger (there is also an 18 Volt range).The battery and changer cost less than three bare lithium cells would have. The cells are already wired and integrated with charging circuity in the battery pack. It was then a mater of fitting the battery to the drill. I removed the case from the new battery and it then fitted inside the old case. I soldered two wires from the new battery to the contacts of the old case. Two extra wires were needed from the battery to a new
DC socket in the bottom of the drill to connect to the charger. The battery was then wrapped in self amalgamating tape to protect it and hold it in place.
To charge the battery I cut the leads off the supplied 15 volt plug-pack and soldered on a simple
DC plug. The electronics for regulating charging of the lithium battery are in the circuit board on the battery, so there is no extra electronics required.
There are two lights on the battery: red for charging and green for charged. This presented a problem, as when assembled inside the old battery case these lights were not visible. So I drilled two holes in the top of the battery case and fitted
Light Transporters. These have a clip which fits over the LEDs on the charger board, and a fiber optic cable to channel the light out.
To ensure that someone did not try to charge the new lithium battery with an old NiCd charger, I peeled the stickers off the discarded lithium case and stuck them over the NiCd ones on the drill. To further reduce the risk, I screwed the battery pack to the drill, so it could not be removed and placed in a NiCd charger by mistake.
This amount of effort was not really worth it in strict money terms. A new 12 volt drill would have not cost much more than the battery and charger alone. However, there was nothing wrong with my old drill.
Fitting a new battery would make more sense for more expensive cordless tools, or where you have a range of tools. The most complex part of the upgrade was fitting the new cells inside the old battery case. A simpler approach would be to remove the old cells and fit a short lead with a DC plug on it. Then fit a short lead with a matching DC inline socket to a new lithium battery pack (perhaps with an inline fuse for protection). The battery could be attached to the bottom of the old pack, or just left loose on a short cable.This approach of using an external battery would be particularly useful if you have multiple tools which are the same voltage, but different brands. The same size plug can be fitted to each tool and then all used with one battery pack and charger.

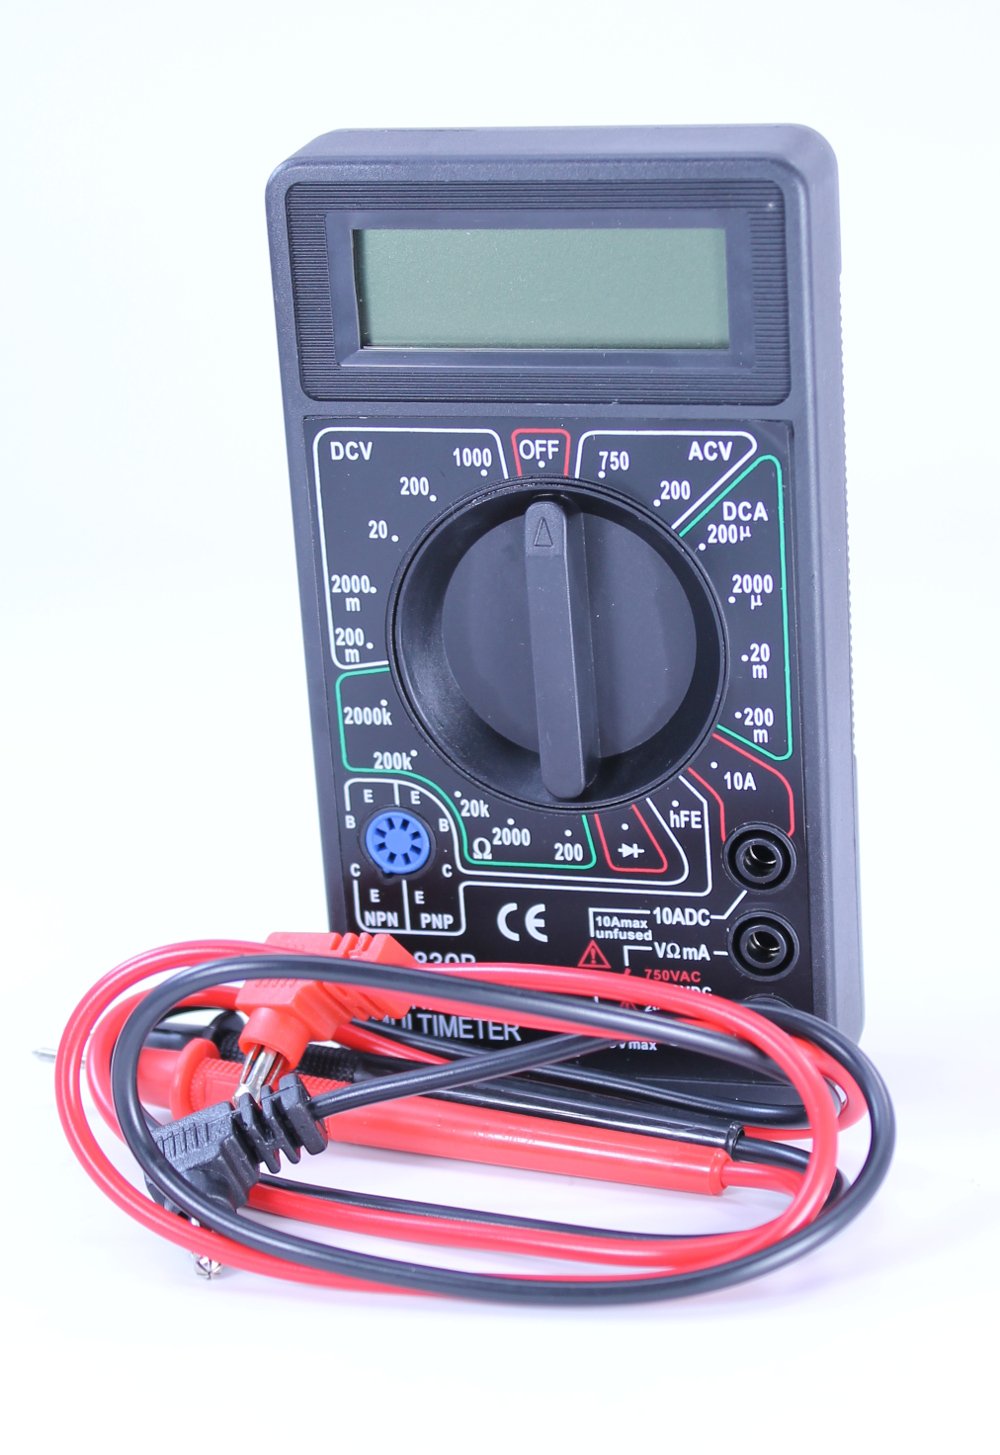
Please note that fitting a battery requires a reasonable familiarity with electronics. While the voltages are low, there is a risk from batteries exploding, or catching fire, if not wired correctly. I have not described exactly which wire to connect to which contact on the battery. If you are not skilled enough to work this out with a multimeter, yourself, then you should not be attempting this upgrade.

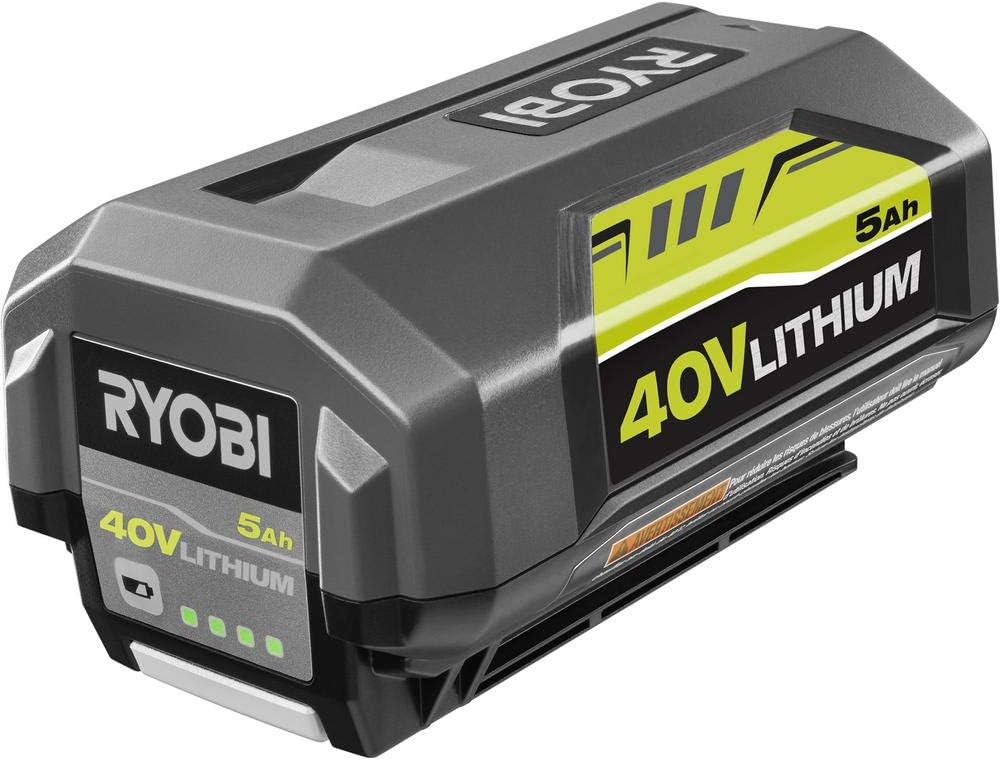

 The + and - terminals on the battery read 20 Volts with a voltmeter. I connected these to the 40 volt power supply, but read only a few microamps charge. There are two other terminals on the battery marked T1 and T2, which I assumed were for temperature monitoring. When I checked with the voltmeter between the + and one of the T terminals, the current suddenly jumped to 700 mA for a few seconds, then dropped to zero, then jumped again, while the lowest of the charge indicator lights on the battery flashed. After a half an hour the battery had enough charge to work in the regular charger.


